VLRH measurement with LNP® nano touch according to DIN ISO 27588
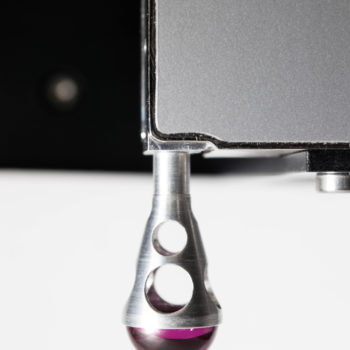
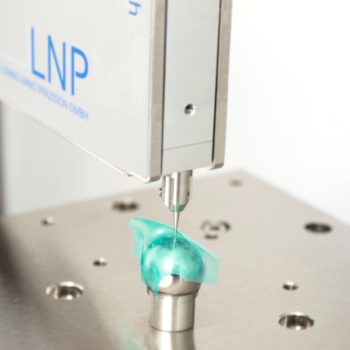
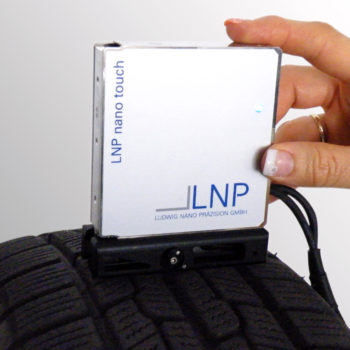
The transition from IRHD-M to the VLRH method takes place by switching the probing tip and the support ring. Furthermore the measuring force is reduced from 153.3 mN to 100 mN. With just a single measuring device, you can measure IRHD-M and VLRH in a previously unknown quality –on the measuring stand or directly on the workpiece.
153.3 mN
Measuring Force
For VLRH measurement we recommend LNP® 2
Products
suitable for VLRH measurements according to DIN ISO 27588
Curious about more standard test methods?
Read also:

Shore measurement methods
All in one device! Shore A/M ASTM 2240, Shore 00 ASTM 2240, Shore 000 ASTM 2240 and Shore A Micro.

Modified IRHD-M measurement
By reducing the standard forces and / or a reduction of the radius geometry of the probe tip, it ispossible…

IRHD-M Measurement
With the LNP® nano touch it is possible for the first time to perform non-distructively micro IRHD hardness measurements on…


