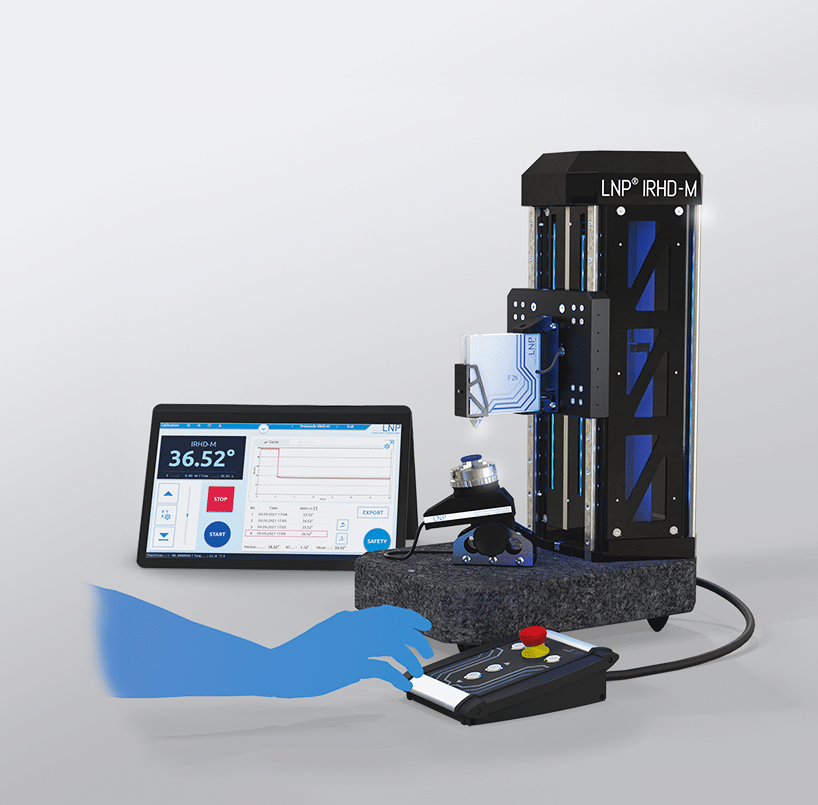
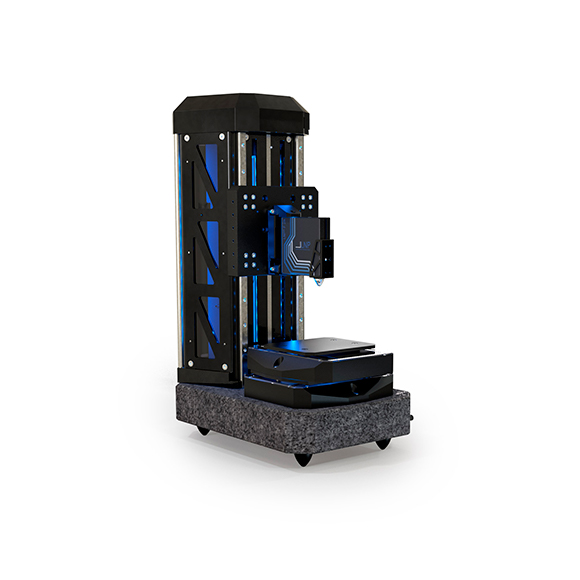
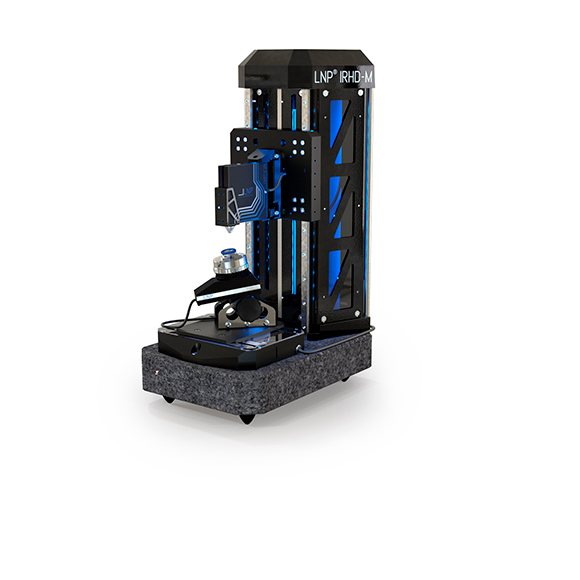
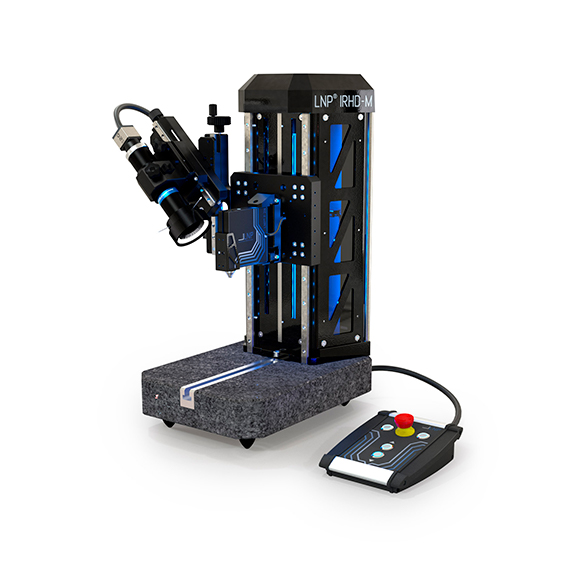
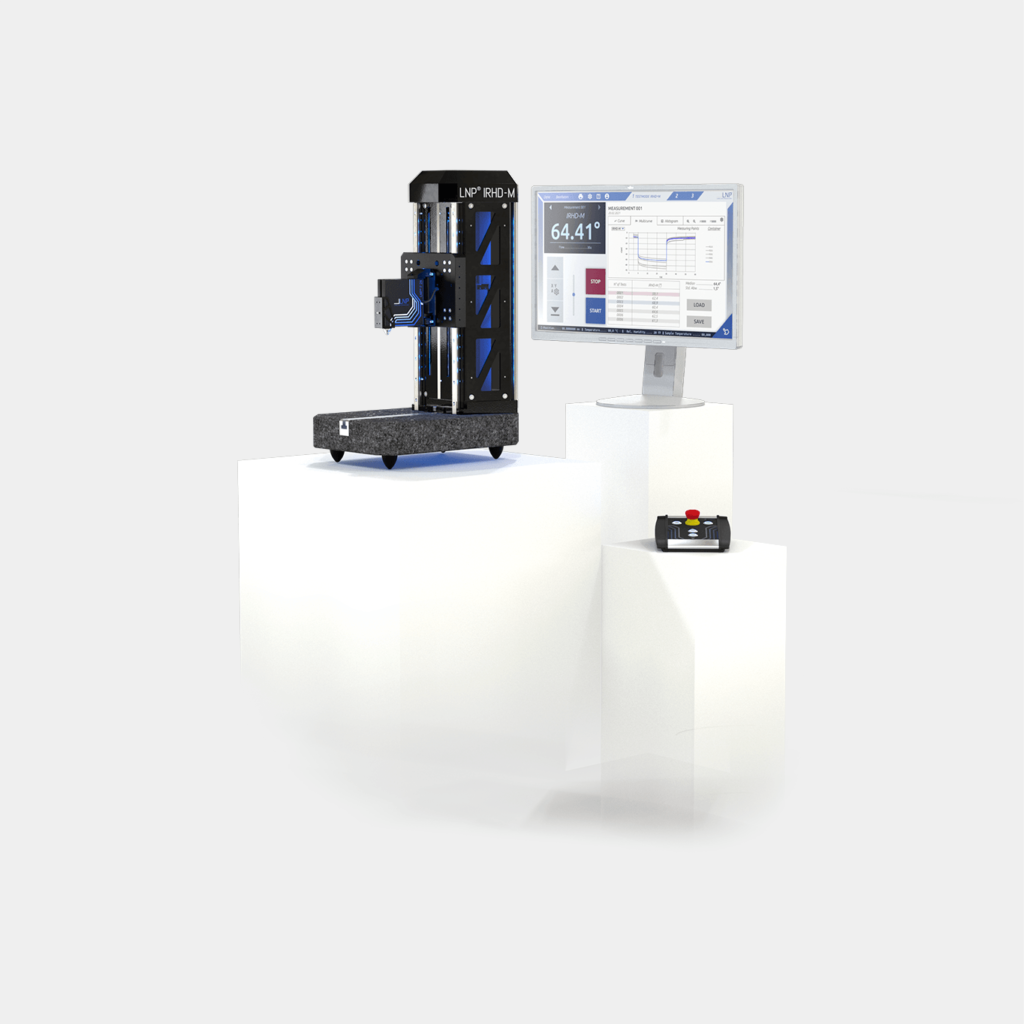
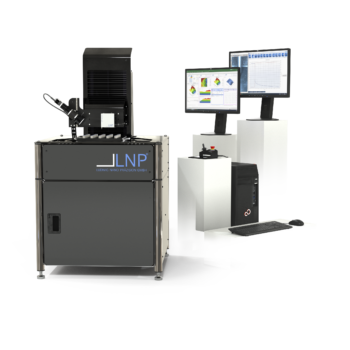
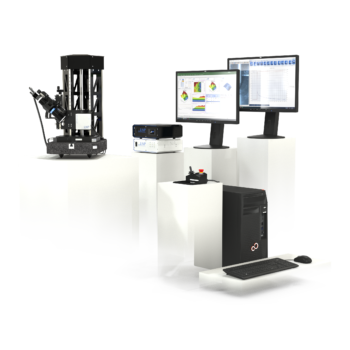
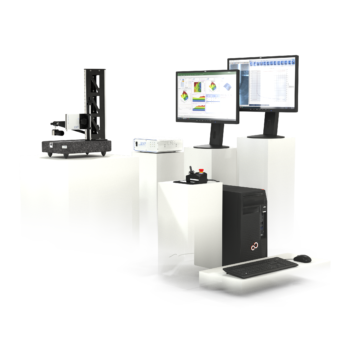
LNP IRHD-M measuring device with rotary table K on an angle adjustment and software on touchscreen convertible in the background.

Services that can be booked additionally

+ maintenance contract:
    Remote maintenance, support and calibration

+ User training

LNP® Universaltester

Order-Nr.: 034332

The workplace solution for standard test procedures according to:

ISO 48, DIN ISO 48, IRHD-M

Measurement at the push of a button! Hardness testing has never been so easy and accurate. Standard-compliant hardness determination for elastomers and plastics.

The product complies with the European Machinery Directive and is therefore CE compliant.


+49 (0) 5551 910 20 59

Scope: elastomers, plastics, synthetics


IRHD-resolution: 0,01 °


Level of automation: fully automatic measurement


Lowering speed: 3,2 mm/s in accordance with current standards


Possible sample dimensions X×Y×Z: 250 mm × 200 mm × 250 mm


Device dimensions X×Y×Z: 250 mm × 350 mm × 550 mm


Action controller dimensions: X×Y×Z: 150 mm × 200 mm × 80 mm


Device weight: ca. 29 kg


Incl. record software and windows convertible-notebook!

LNP® measuring head IRHD-M


Motorized Z-Axis 250 mm travels, integrated control


LNP® Action controller with emergency off function


High-quality precision granite plate


LNP® Software IRHD-M


Convertible-Notebook Windows

Availabel with Qs-Database integration upon request


5 MP USB3-camera with telecentric lens and
LED-ringlight


Scanner and labelprinter


And more equipment

Services that can be booked additionally

+ maintenance contract:
    Remote maintenance, support and calibration

+ User training

Process integration

Process
integration

Laboratory
Make sure your production is and stays within tolerance.

Quality controll
Quality assurance with the LNP® Universaltester means full integration intoalready  existing q-systems.

Production
Analyze your production and use the knowledge to control your process parameters.

Application examples
with equipment

Application examples
with equipment

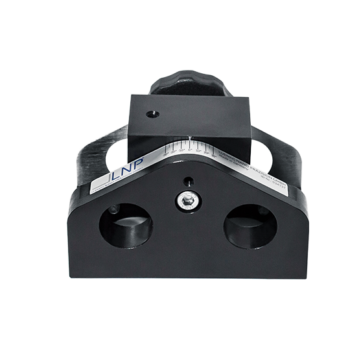
O-ring on turntable K with angle adjustment from 0 ° -90 °

This combination is for rotationally symmetrical components, such
as O-rings and Simmerrings are particularly well suited. The
three-jaw chuck enables flexible clamping variants and thus also
measuring in the normal direction.

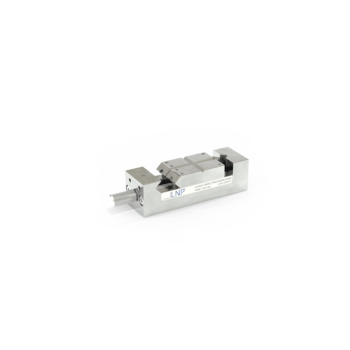
Samples on linear axis type X

The linear axis is available individually or can be stacked as an XY variant with 80 mm travel.
Several or individual measuring points can be measured fully automatically on several test objects.

Frequently asked questions about the IRHD-M process

IRHD stands for International Rubber Hardness Degree [°] that can be measured with this method. The M in IRHD-M stands for micro, which means that very small rubber samples and products with a thickness of 1 mm or more can be determined. It can therefore be determined how hard small elastomer, plastic or rubber products, e.g. O-rings or coatings, are. In addition, there are the IRHD processes in the N, H, L, M and VLRH versions.

The degree of hardness provides information on the deformation behavior as a result of a constant load and can therefore provide conclusions about the functionality of small parts. The geometry of the test body is a sphere, which is why we often speak of the ball indentation hardness IRHD.

In principle, a hardness test according to DIN ISO 48 is an indentation test with a spherical needle tip and a radius of 0.2 mm and with a constant force. The needle presses the test body with a pre-force of 8.3 mN for 5 seconds to guarantee that it rests flat on the contact surface. Then the material is pressed in for 30 seconds with a main force of 153.3 mN and the hardness value is determined after the time has elapsed.

Die IRHD-M Kurve zeigt die Eindrückung der Probe in Relation zur Messzeit. Nach 5 Sekunden Vorkraft mit 8,3 mN wird die Probe 30 Sekunden lang mit Hauptkraft 153,3 mN eingedrückt.

Fig. 1: Indentation of the material in relation to the measurement time. A typical IRHD-M curve.


A bench measuring device should always be the right choice to determine the IRHD-M hardness. Small and filigree parts have to be measured over a period of 5 and then another 30 seconds with constant forces. Even the safest hand cannot keep up with a hardness tester that carries out such a measurement automatically and without manual intervention. In addition, the test device should have an unyielding and extremely flat surface in order not to influence the measured value. With a simple hand-held measuring device, the constant ambient conditions necessary for a standard test can never be ensured. If the evaluation of the hardness test is to be as clear as possible, a digital device with software that converts the penetration depth into the degrees of hardness is recommended. Another advantage of these devices is that irregularities and disturbances can be detected during the measurement via the path or IRHD curve.

Usable results are obtained with material samples and workpieces that are 1 mm thick. Depending on how many measuring points should be examined on a sample, it is necessary to maintain a certain edge distance. The IRHD-M standard requires an edge distance of 2 mm. The material to be tested or the small part should ideally be elastic and isotropic. Good examples are elastomers, plastics or rubber.

Measurement conditions:

Edge distance: ≥ 2 mm
Measurement distance:≥ 2 mm
Measurements: ≥ 3
Material thickness: ≥ 1 mm

Schema einer Materialprobe. Eingezeichnet sind je 2 mm Abstand vom Rand aus sowie von Messpunkt zu Messpunkt. Die Dicke des Materials ist mit 1 mm gekennzeichnet. Es ergibt sich, um eine Normprüfung an drei Messpunkten durchzuführen, ein Mindestvolumen von 6 mm x 6 mm x 1 mm.

Fig. 2: Minimum volume of a material sample according to the standard

If the thickness of the sample is insufficient, measuring devices will show a harder result than the material actually has. This is due to the reduction in stress over the material thickness, which can be clearly seen in Figure 3 of the DIK. The tension is reduced from the needle in the direction of the contact surface in a ratio of approx. 1:10.

So that the substrate does not influence the measurement result, we therefore recommend selecting the minimum sample thickness depending on the hardness according to the ratio shown in the graphic (Fig. 4).

Mit einem bunten Farbverlauf ist der Spannungsabbau im Material während der Indentation gekennzeichnet. Die Spannung baut sich von der Nadel aus in Richtung der Auflagefläche ab.

Fig. 3: Stress reduction in the material during an indentation. Source: Master’s thesis Marvin Ludwig, Leibnitz University Hannover and the DIK – German Institute for Rubber Technology e. V

Im Diagramm ist die minimale Probendicke in Abhängigkeit der IRHD-M Härte durch einen Kurvenverlauf dargestellt. Je dünner die Probe ist umso Härter muss sie sein, damit die Auflagefläche die Messung nicht beeinflusst. Die Mindestdicke um nach IRHD-M DIN ISO 48 zu messen ist mit einer blauen Linie gekennzeichnet. Der das Ergebnis verfälschende Härte- und Dickenbereich ist durch die rote Schraffur gekennzeichnet.

Fig. 4: In order not to falsify the result, we recommend that you select the minimum thickness of the sample depending on its hardness.

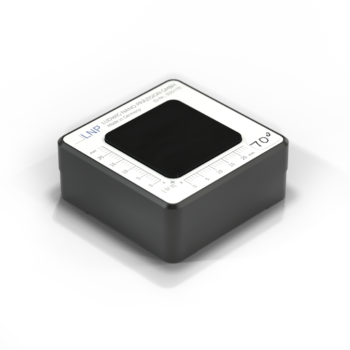
If a sample is too thin, it can be layered 1 mm. In addition, a flat support surface is required where measurements are to be made. For complicated sample geometries with cavities or curves, special sample holders can be of great help. A good example is the O-ring mandrel.

No. The standard conditions for both methods are very different, a conversion would not be easy, but very complicated and also uncertain. In general, it is always safest to measure as close as possible to the conditions under which a sample must function. Because the Shore A test is carried out faster, a conversion is still often perceived as tempting. The following factors prevent an exact conversion:

The probe tip:
Where a ball point with a diameter of 0.395 mm is used for IRHD-M according to DIN EN ISO 48, a truncated cone with a diameter of 0.79 mm is provided as penetration body for Shore A according to DIN EN ISO 868.

Force generation:
In contrast to the Shore A method, where the force (8.05 N) is generated by a spring, with IRHD-M defined weights apply the necessary forces (pre-force: 8.3 mN and total force: 153.3 mN).

The structure of the hardness tester
The structure of the hardness tester Hand dial gauges with a ring support are often used for Shore A measurements, not table-top devices. The ring contact force (9.81N) must then also be taken into account. The Shore A hardness is therefore determined by the depth of penetration of the ring support and probe tip. In the case of hand-held measuring devices, the result is also heavily dependent on the human factor. The most common mistakes are blurring during the measurement or turning numbers when reading the result. With a scale, results can be assigned after the measurement. The Shore A scale, along with other scales such as Shore D or Shore 00, is defined in standards such as ASTM D 2240, DIN EN ISO 868 and DIN ISO 7619-1.

Time, perhaps the greatest obstacle
Shore A results are determined in just 3 seconds, whereas with IRHD-M the pre-force has to act on the test body for 5 seconds and the total force for 30 seconds. When calculating the result, the degree of hardness, the penetration depth achieved by the pre-force is subtracted from the penetration depth of the total force.

The scope
Shore A degrees of hardness are determined on soft rubber, natural rubber products, silicones, soft PVC up to wood and leather. However, due to the high measuring force, the minimum sample thickness is limited to at least 6 mm. Thin (1 mm to 2 mm sample thickness), filigree and irregular molded parts made of rubber and thermoplastic elastomers are usually candidates for IRHD-M measurements.

Available so far:

Equipment for LNP® Universaltester and other measuring devices.


Available so far:

Equipment for LNP® IRHD-M and other measuring devices.

More Work Solutions

Do you not only need an Universaltester, but a device for all standard test procedures?
Our work solutions are available in several levels of automation!